Unity3D Devs - Setting up your Mac for Android builds
Hi Unity Dev,
If you have landed up on this post, you must be wondering how to set everything up for making Android builds on your Mac.
I am pretty sure there are a bunch of similar articles or posts about this topic. But I found the information scattered here and there. Or, maybe I am just not smart enough.
Anyways, once I figured out all the steps and went through them myself, I thought of documenting them for my team mates.
I am sharing the same here and I hope this post helps you or anyone else who is also gearing up for Android release. BTW, the steps / principles are the same if you are using Windows.

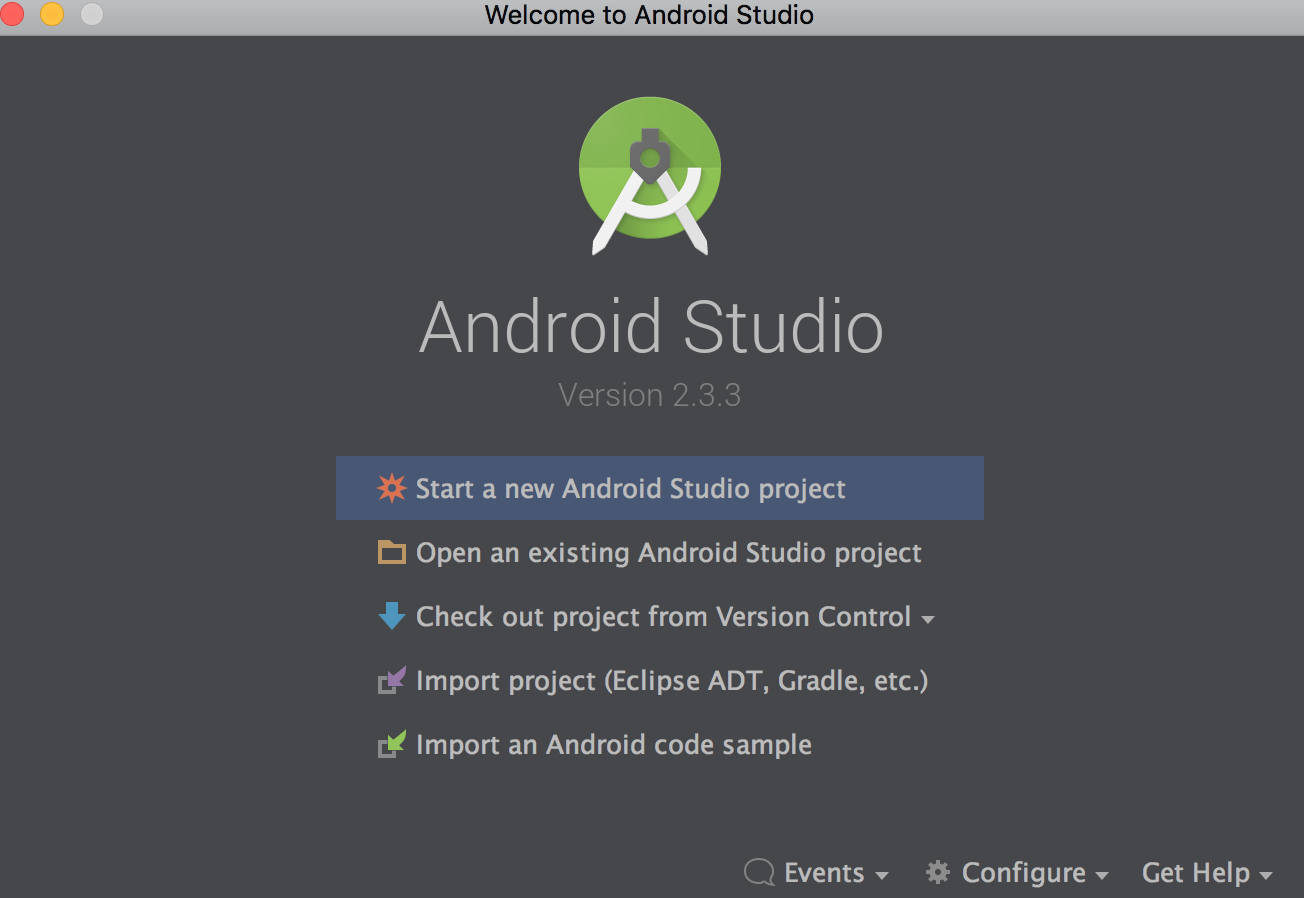
Once you have installed Android Studio you will see the landing dialog as seen below.
(Below is the landing dialog for Android Studio ver. 2.3.3)
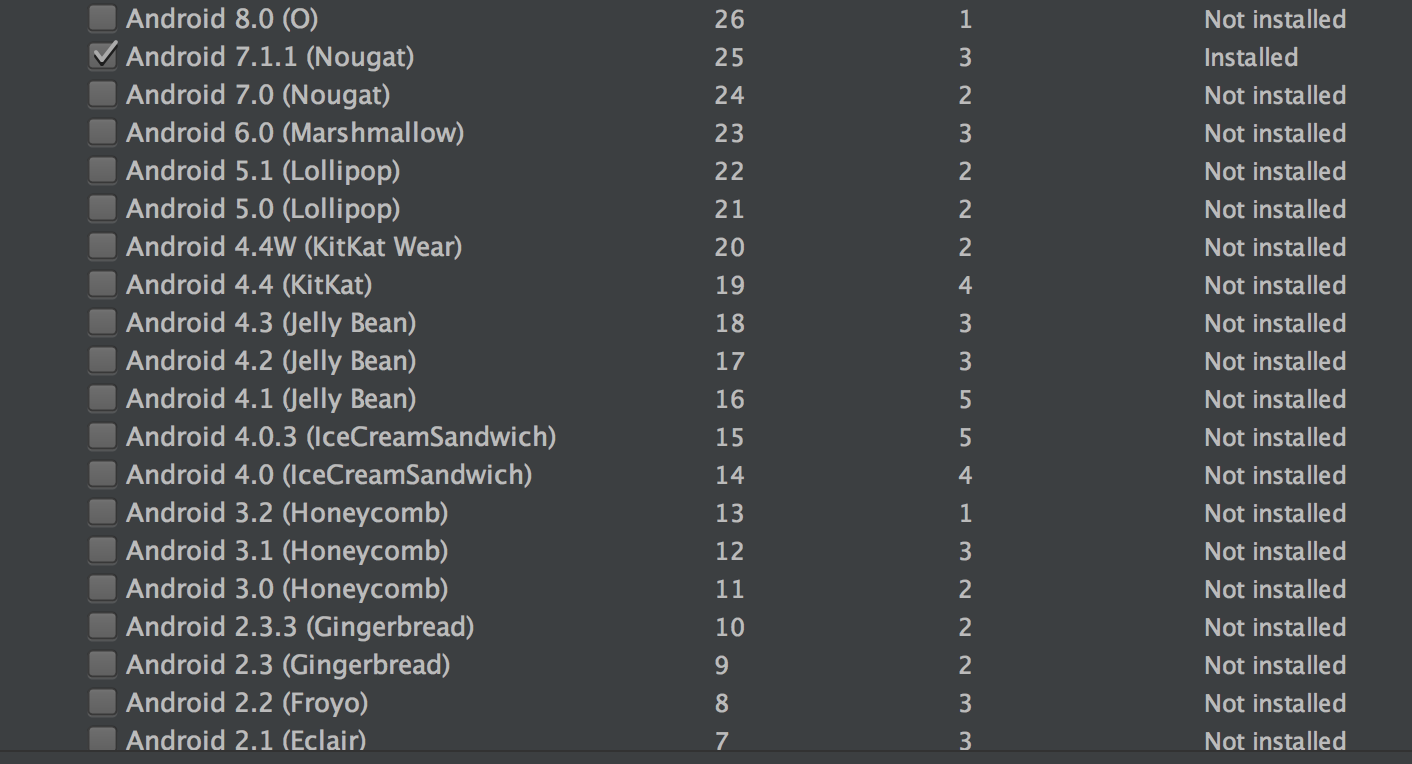
Step 2: Install the APIs / Android SDKs
Using Configure drop-down option (along the bottom edge of the screen) launch the SDK Manager and install the APIs you are interested in.
(In this particular project, as you can see in the image below, I was interested in API 25 aka
Nougat aka Android 7.1.1). The SDK Manager is pretty straight forward tool - you can install and uninstall APIs as and when required. If you are working with multiple APIs, then you simply choose the ones you need to install.
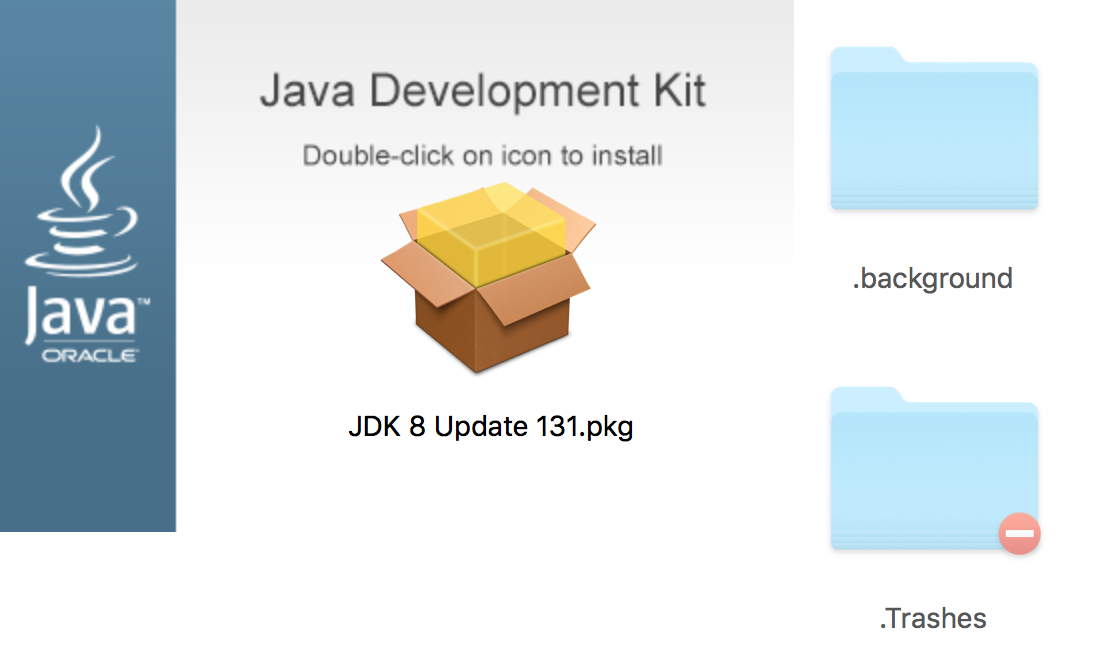
Step 3: Download JDK
(You dont need Demos and Sample for Unity development, just the JDK)
Step 4: Install JDK
Double click on JDK Update package (as seen below)
 The JDK installation wizard will fire up. Simply go through the wizard and complete the JDK installation process.
Step 5: Setting up JAVA_HOME environment variable.
(This is an important step which is something you should not skip. I recommend you to please read all the instructions below once, before you start going through the steps.)
Assuming you don't already have a ~/.profile file:
If you have done all these steps: The next time you fire up an instance of bash, the commands in the ~/.profile will be read & executed in the exact order as you have specified.
One final note:
~/.bash_profile always overrides ~/.profile.
So if you write a ~/.bash_profile your ~/.profile file won't be read / executed anymore.
Step 6: Verification of Step 5 i.e. your JAVA_HOME is set and persistent.
Open a brand new Terminal window (using cmd+n) and type in command line:
If you see the above:
CommandInvokationFailure: Unable to list target platforms. Please make sure the android sdk path is correct. See the Console for more details.
If you have landed up on this post, you must be wondering how to set everything up for making Android builds on your Mac.
I am pretty sure there are a bunch of similar articles or posts about this topic. But I found the information scattered here and there. Or, maybe I am just not smart enough.
Anyways, once I figured out all the steps and went through them myself, I thought of documenting them for my team mates.
I am sharing the same here and I hope this post helps you or anyone else who is also gearing up for Android release. BTW, the steps / principles are the same if you are using Windows.
Let's do this:
Step 1: Download and install Android Studio
Once you have installed Android Studio you will see the landing dialog as seen below.
(Below is the landing dialog for Android Studio ver. 2.3.3)
Step 2: Install the APIs / Android SDKs
Using Configure drop-down option (along the bottom edge of the screen) launch the SDK Manager and install the APIs you are interested in.
(In this particular project, as you can see in the image below, I was interested in API 25 aka
Nougat aka Android 7.1.1). The SDK Manager is pretty straight forward tool - you can install and uninstall APIs as and when required. If you are working with multiple APIs, then you simply choose the ones you need to install.
(You dont need Demos and Sample for Unity development, just the JDK)
Step 4: Install JDK
Double click on JDK Update package (as seen below)
(This is an important step which is something you should not skip. I recommend you to please read all the instructions below once, before you start going through the steps.)
If you are trying to run a Java application on your Mac and need to set your JAVA_HOME, you need to do the following steps:
What is JAVA_HOME?
JAVA_HOME is the path to the folder that contains a sub-folder named bin. This in turn contains java. Typically, for Mac OSX it is /Library/Java/Home

Simply follow the steps below:
What is JAVA_HOME?
JAVA_HOME is the path to the folder that contains a sub-folder named bin. This in turn contains java. Typically, for Mac OSX it is /Library/Java/Home

Simply follow the steps below:
- Open up Terminal
- First confirm you have JDK installed by typing which java in command line.
- It should show something like: /usr/bin/java
- Ensure you have the required version of Java. You can do that by typing: java -version
- Set JAVA_HOME by typing this command in Terminal:
export JAVA_HOME=/Library/Java/Home
- Then type echo $JAVA_HOME in command line to confirm the path is correctly set
- Now you should be able to run your Java application.
PLEASE NOTE: This ONLY sets JAVA_HOME for that particular instance of bash.
So do I need to do this every time?
No! If you want the configuration to be persistent, then you will have to add the command to your ~/.profile file.
NOTE: (Usually) there is no ~/.profile by default.
So when you start Terminal, it loads a shell – in our case, bash. Shells may or may not have configuration files. ~/.profile is nothing but a config file to set up your shell environment. They are a set of instructions which are executed before loading your shell environment. They are read when the shell starts up, in a specific order. You can specify the exact order in the ~/.profile file.
Assuming you don't already have a ~/.profile file:
Create the ~/.profile file using any text editor.
For example, in Terminal, type:
touch ~/.profile
open -e !$
Okay, now that you have opened up ~/.profile file in your text editor, you need to add the following commands. If ~/.profile file already exists then I recommend to add the following commands to the end of the ~/.profile file.
JAVA_HOME=/Library/Java/Home
export JAVA_HOME;
Remember to save before closing the text editor 😊
If you have done all these steps: The next time you fire up an instance of bash, the commands in the ~/.profile will be read & executed in the exact order as you have specified.
One final note:
~/.bash_profile always overrides ~/.profile.
So if you write a ~/.bash_profile your ~/.profile file won't be read / executed anymore.
Step 6: Verification of Step 5 i.e. your JAVA_HOME is set and persistent.
Open a brand new Terminal window (using cmd+n) and type in command line:
java -version
You should see something like the following:
java version "1.8.0_131"
Java(TM) SE Runtime Environment (build 1.8.0_131-b11)
Java HotSpot(TM) 64-Bit Server VM (build 25.131-b11, mixed mode)
If you see the above:
Congratulation! ✌
Now you’ve successfully set your JAVA_HOME environment variable to /Library/Java/Home/bin/java and it's persistent.
Now you’ve successfully set your JAVA_HOME environment variable to /Library/Java/Home/bin/java and it's persistent.
Step 7: Can I please build now, FFS?
- Android Studio installed ✅
- APIs installed ✅
- JDK installed ✅
- JAVA_HOME is set ✅ and it's persistent ✅
- Verified ✅
The Build will most likely fail will the following error in the console:
- Android Studio installed ✅
- APIs installed ✅
- JDK installed ✅
- JAVA_HOME is set ✅ and it's persistent ✅
- Verified ✅
Well .... go on and try to build!
Go back to Unity (make sure you have switched your platform to Android) and start your build.The Build will most likely fail will the following error in the console:
CommandInvokationFailure: Unable to list target platforms. Please make sure the android sdk path is correct. See the Console for more details.
/Library/Java/JavaVirtualMachines/jdk1.8.0_131.jdk/Contents/Home/bin/java -Xmx2048M -Dcom.android.sdkmanager.toolsdir="/Users/surathchatterji/Downloads/Android/sdk/tools" -Dfile.encoding=UTF8 -jar "/Applications/Unity/PlaybackEngines/AndroidPlayer/Tools/sdktools.jar"

Step 8: The good news, my friend, this is the final step. You are almost there!
So how should you fix this error?
I will try to simplify the steps for you:
So how should you fix this error?
I will try to simplify the steps for you:
- Go to this page and download the latest Android SDK Tools (zip file)
- Unzip it and you will get a tools folder
- Go to your Android SDK home location AndroidSDK->sdk->tools (delete this folder)
- Drag and drop the unzipped tools folder inside sdk folder (Essentially you are replacing the existing tools folder with the new one)
NOTE: The sdk-tools-darwin-3859397.zip on this page (right at the bottom of the page) did not work for me. Some devs did say that it worked for them! Just wanted to mention that, just in case.
Step 9: BUILD
Now you may go back to Unity -> (Once again: Make sure you have switched to Android platform) and BUILD!
Now you may go back to Unity -> (Once again: Make sure you have switched to Android platform) and BUILD!
Comments
Post a Comment